The Pantheon Blog
Image

Latest insights

Democratizing Pantheon's Global CDN to All Customers
Read More
Escape the Website Relaunch with Elasticsearch for WordPress and Solr 9 for Drupal
Read More
Ready to /GoLive with Pantheon in Miami?
Read More
How Pantheon Shut Down a Trojan Attack on Our GitHub Repositories
Read More
Why You Shouldn't Store LLM API keys in WordPress Database
Read More
Show + Tell Community Challenge: The Results Are In. And Wow, Did You Deliver!
Read More
Direct GitHub Integration Is Now Generally Available on Pantheon
Read More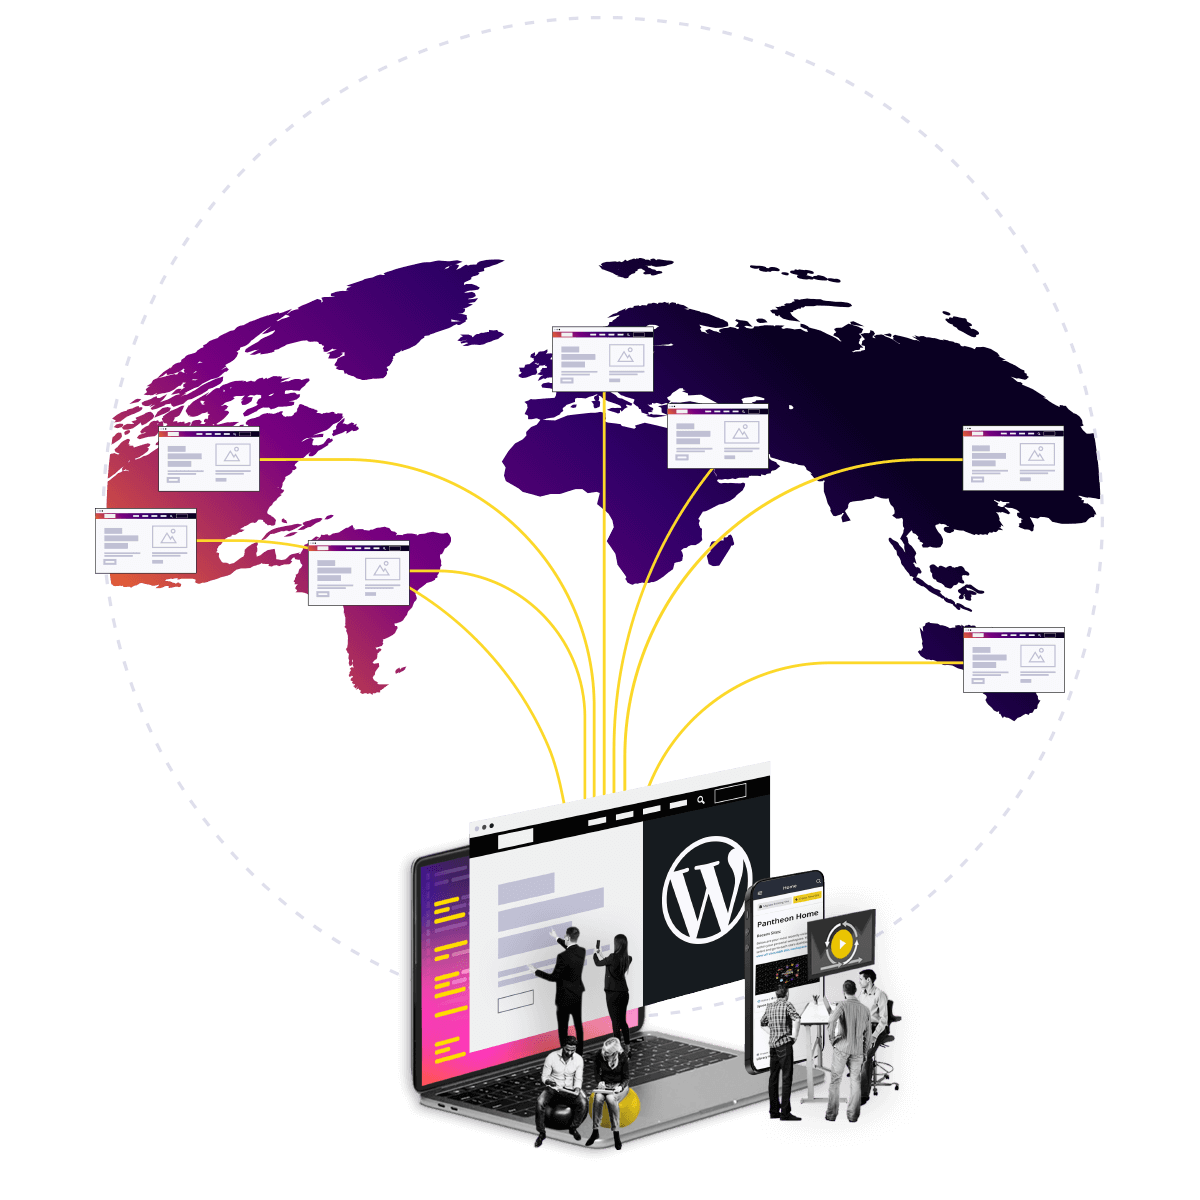
AI Era Mythbusters: Bad Bot Edition
Read More
We Red-Teamed Ourselves on CVE-2026-31431
Read More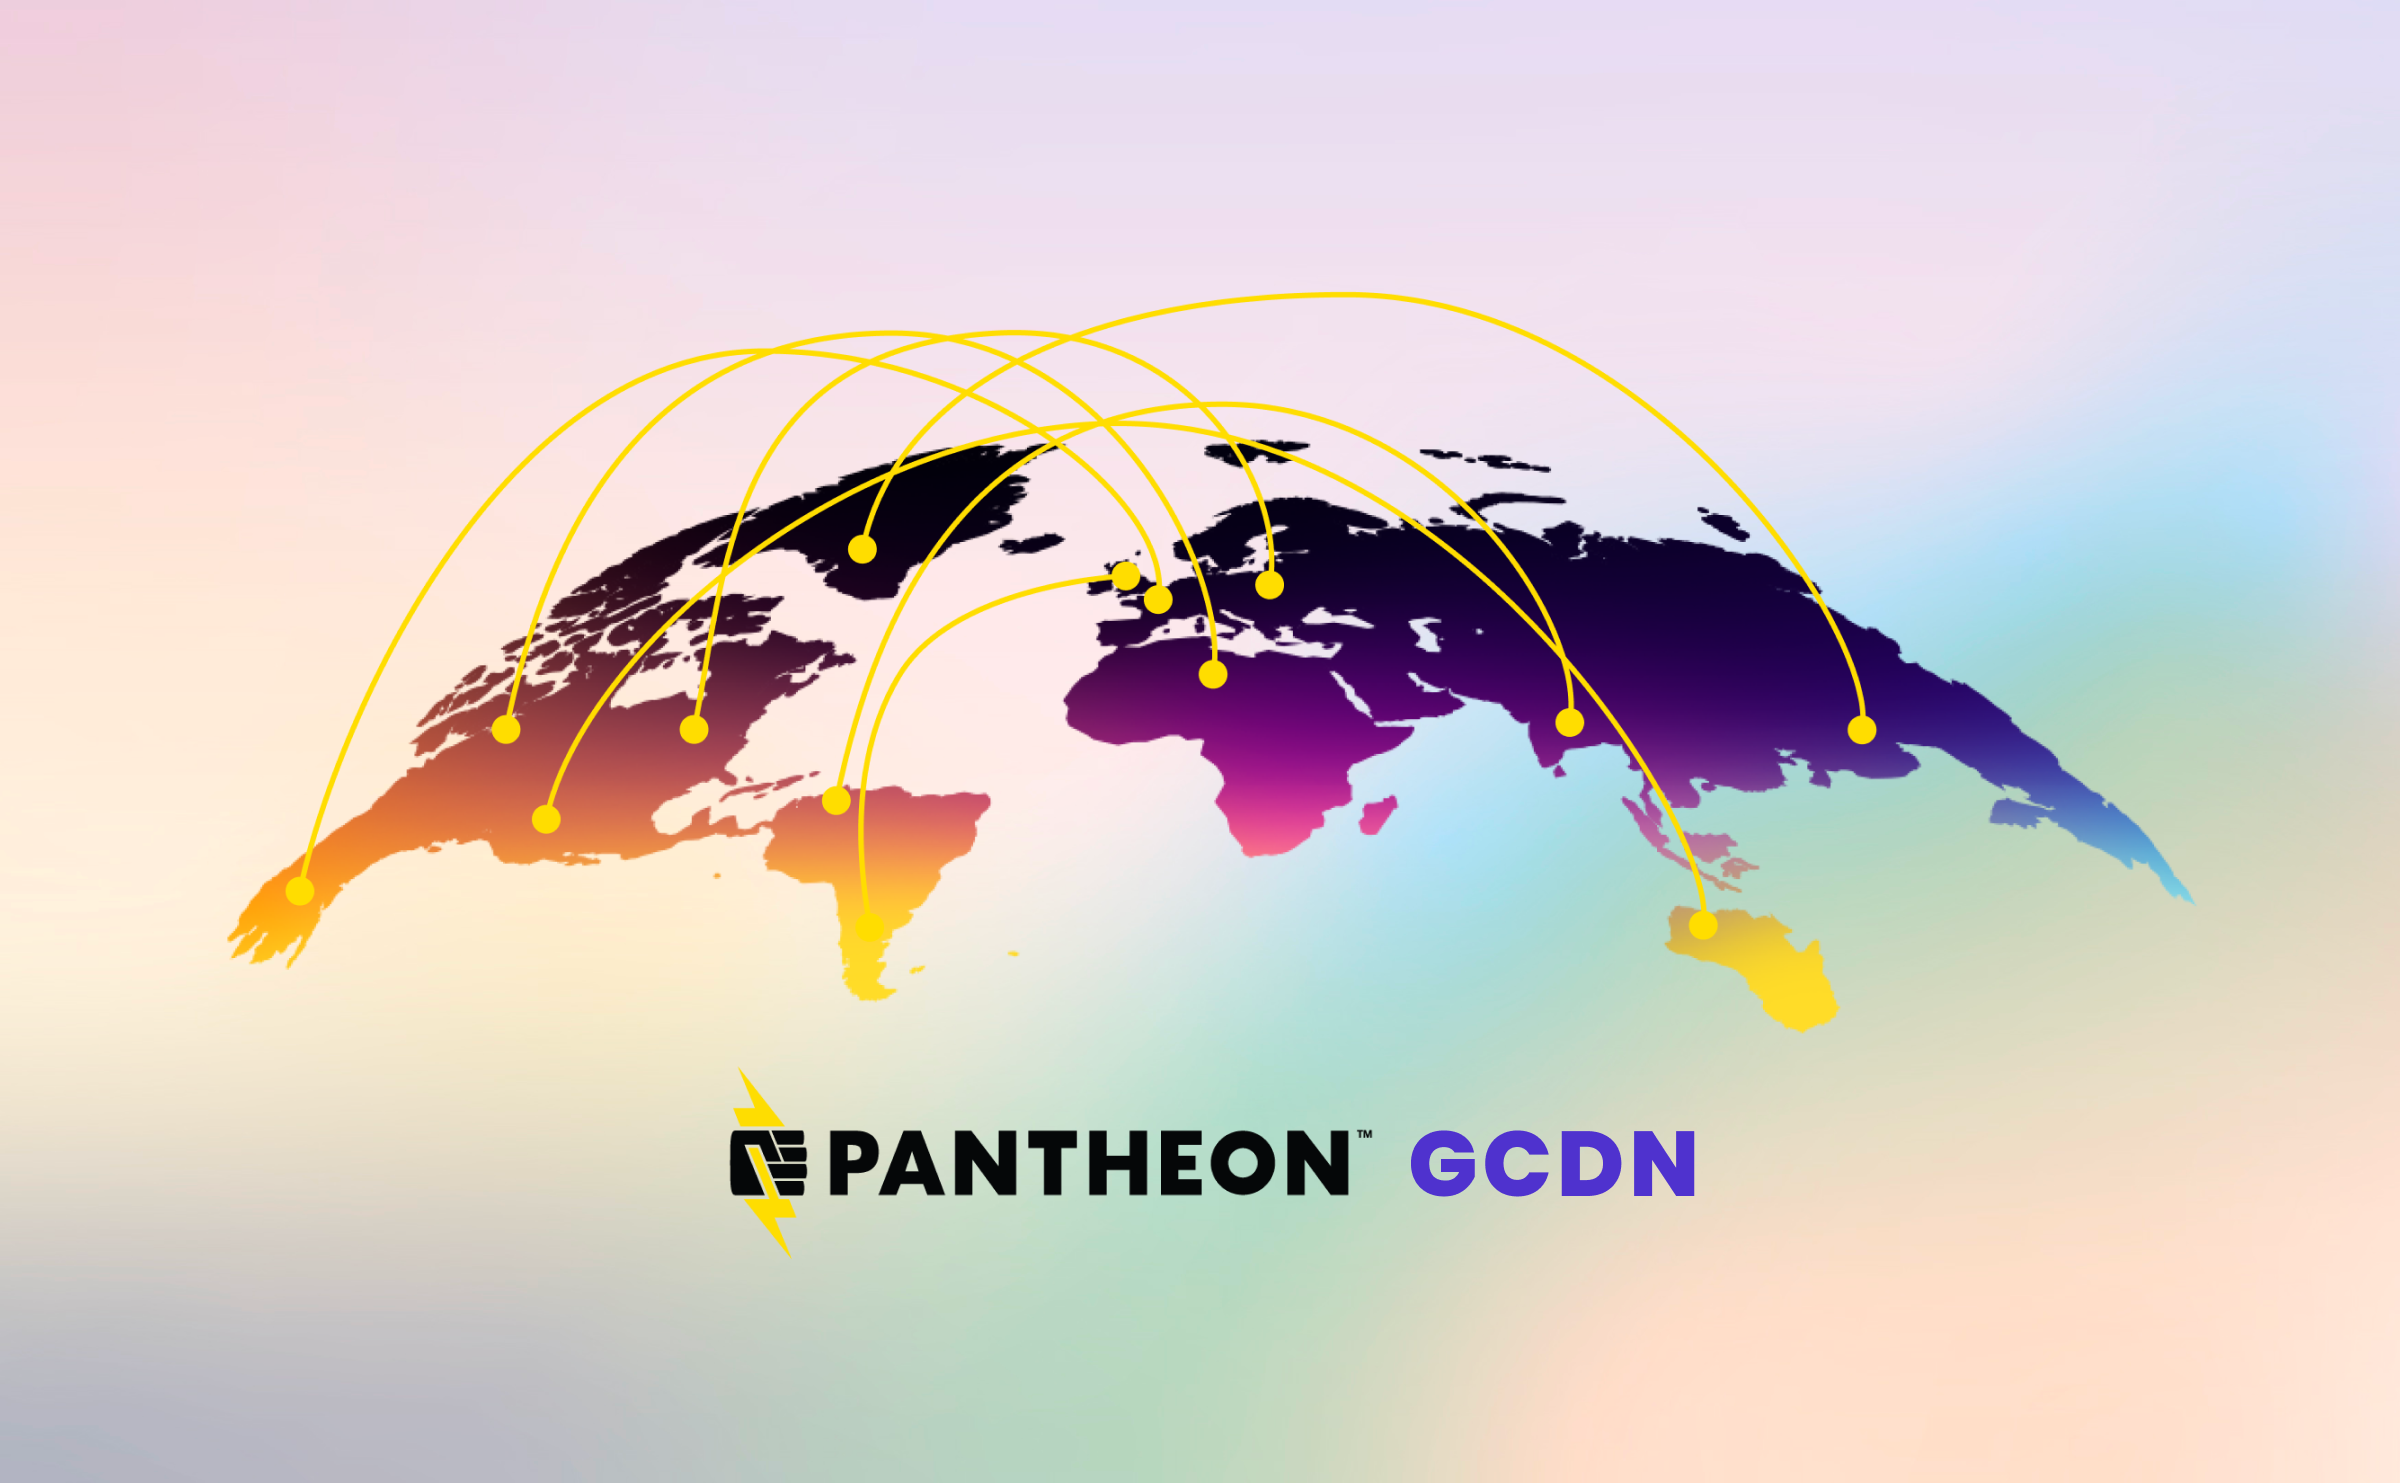
Global CDN Beta: Built-In Bot Protection, Now Available
Read More
Next.js On Pantheon Is Available For All Now
Read More
A New Era of WordPress Search: Elasticsearch in Beta Now
Read More